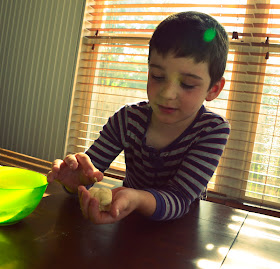
For today's craft, we decided to try our hands at salt dough charms. I've been trying to find crafts that would appeal to both a 6 year old and a preteen, and this one fit the bill. I found the instructions here.
Here are a few tips that we learned along the way:
1. If the dough's too wet, add some more flour, or water if it's too dry.
2. Don't try to sculpt big three-dimensional figurines [like my daughter did]. This dough is more suited to flat objects because it's looser and gravity will get the best of it. Plus, the baking time will be roughly five days.
3. Keep the details to a minimum when sculpting. Add them in with paint. Again, if you're trying to recreate Michelangelo's David, then this isn't the right dough for the job. Even making lines in the dough was kind of tough.
4. Make sure the holes are big enough for a chain, or a string to fit through, otherwise you'll end up with miniature tchotchkes.
5. Instead of an acrylic sealer, we used Mod Podge to seal our charms. Another option would be clear nail polish to give it a glossy finish.
6. Don't feed your dog any of the salt dough. It will make her crazy, and she'll beg for more the whole time you're painting your charms.
Happy Crafting!
xo
nessa dee


Cool idea:O) I have an idea for a project i make ornaments , i use the frosted kind from hobby Lobby ome 4 n package i started painting them black this summer and sketching in white then adding the color in or using paper, i have an example on my blog that will keep them busy for a bit:O) have a great weekend:O)
ReplyDelete