Finn had been begging his sister to build him a castle for weeks, so in order to appease him, we made it this week’s craft project.
Here’s what you need:

a small cardboard box or shoebox
several paper towel or toilet paper tubes
construction paper in a variety of colors
markers
paint
glue and tape
scissors
paperclips or string
We started this project by arranging the box and tubes to determine the placement of each item, where the drawbridge would go and such. Once an arrangement was agreed upon [we went with a simple symmetrical setup] we began decorating the cardboard elements.
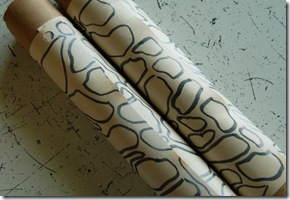
Step 1: Paint the tubes or cover them with construction paper in the color of your choice. We chose a traditional stone look by drawing the pattern on construction paper and then wrapping the tubes with the paper, securing it with tape.

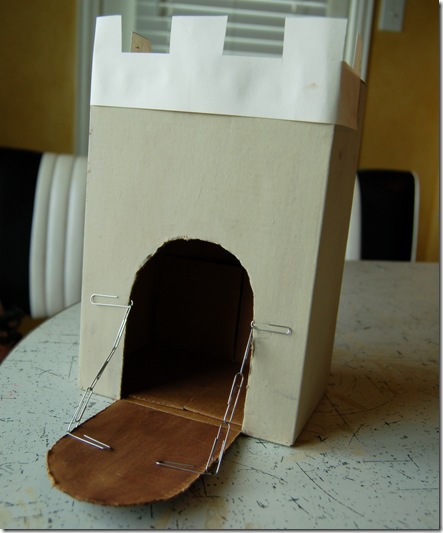
Step 2: Determine the size and placement of the drawbridge, and cut out the sides and top of the bridge, leaving the bottom attached [job for Mom or Dad]. This will allow the drawbridge to open and close.

Step 3: Paint the box and drawbridge in the color of your choice.

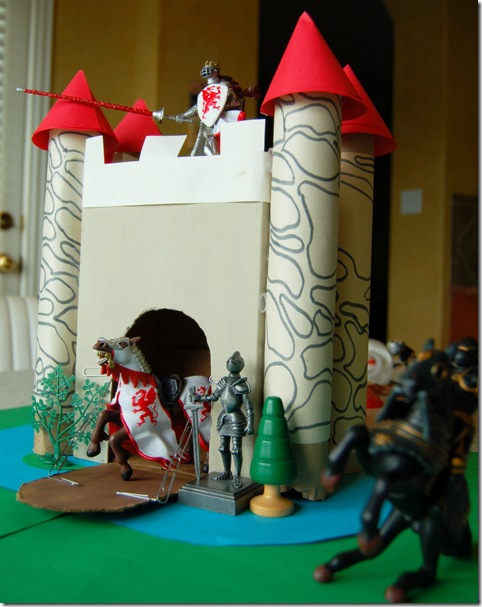
Step 4: For the spire roofs, cut out four circles each about 4” in diameter. Cut a single line to the center of the circle and form a cone by overlapping and gluing or taping the cut edges together. Then attach each roof to the top of a tube with glue.

Step 5: Cut notches out of a strip of paper the same color as the castle and attach it to the top of the box portion with glue.
Step 6: Add chains to the drawbridge. If you’re using paperclips, make two chains and clip them to the sides of the drawbridge and doorway. If you have string, punch holes in either side of the doorway and either side of the drawbridge, and tie two pieces of string through the holes, one on each side.
Step 7: Attach each spire to the side of the castle. We used a combination of tape for a quick hold and glue for long term durability.
Step 8: Gather up your brave knights, noble steeds and fair maidens, and let the imagination flow.
Happy Crafting!
Nessa Dee

 We decided to go with spray pint to cover all of our boxes and cans because it's quick, but craft paint will work just as well as will cover the pieces with construction paper like we did with our old castle.